
Hardening Linux In 10 Steps
Long live Linux! But for a healthy and secure system, it’s crucial to know how to harden and monitor your Linux servers effectively.

Linux Hardening in 10 Essential Steps
Long live Linux! But for a healthy and secure system, it’s crucial to know how to harden and monitor your Linux servers effectively. This guide covers my top 10 security measures every Linux administrator should implement immediately after deploying a new server.
Enough talk, let’s jump into action!
Table of Contents
Kernel Hardening with sysctl.conf
UFW (Uncomplicated Firewall) Configuration
Audit Daemon Setup
Basic System Hygiene
AppArmor Security Profiles
Security Scanning Tools
Removing Unnecessary Packages
VPN for Secure Traffic
Disk Security Enhancements
Disabling Unwanted SUID and GUID Permissions
1. Kernel Hardening with sysctl.conf
Securing the Linux kernel is foundational, and surprisingly simple.
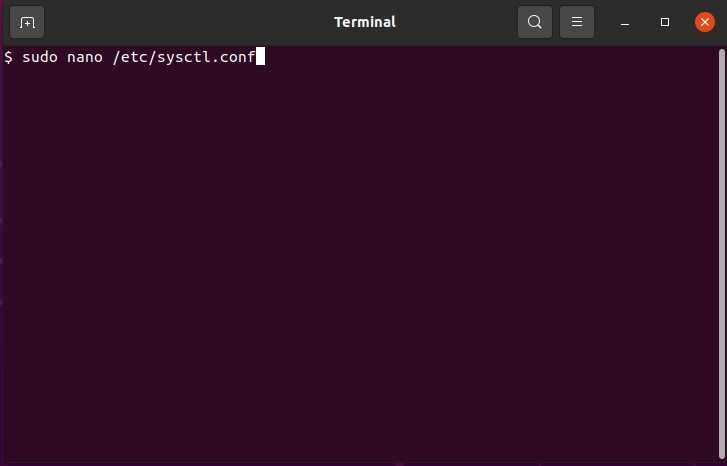
Open your sysctl configuration file for editing:
sudo vim /etc/sysctl.conf
(or use nano, your preferred editor)
Append these security-focused kernel parameters to the bottom of the file:
dev.tty.ldisc_autoload = 0
fs.protected_fifos = 2
fs.protected_hardlinks = 1
fs.protected_symlinks = 1
fs.suid_dumpable = 0
kernel.core_uses_pid = 1
kernel.dmesg_restrict = 1
kernel.kptr_restrict = 2
kernel.panic = 60
kernel.panic_on_oops = 60
kernel.perf_event_paranoid = 3
kernel.randomize_va_space = 2
kernel.sysrq = 0
kernel.unprivileged_bpf_disabled = 1
kernel.yama.ptrace_scope = 2
net.core.bpf_jit_harden = 2
net.ipv4.conf.all.accept_redirects = 0
net.ipv4.conf.all.accept_source_route = 0
net.ipv4.conf.all.log_martians = 1
net.ipv4.conf.all.rp_filter = 1
net.ipv4.conf.all.secure_redirects = 0
net.ipv4.conf.all.send_redirects = 0
net.ipv4.icmp_echo_ignore_broadcasts = 1
net.ipv4.ip_forward = 0
net.ipv4.tcp_syncookies = 1
net.ipv6.conf.all.accept_ra = 0
net.ipv6.conf.all.accept_redirects = 0
net.netfilter.nf_conntrack_max = 2000000
net.netfilter.nf_conntrack_tcp_loose = 0

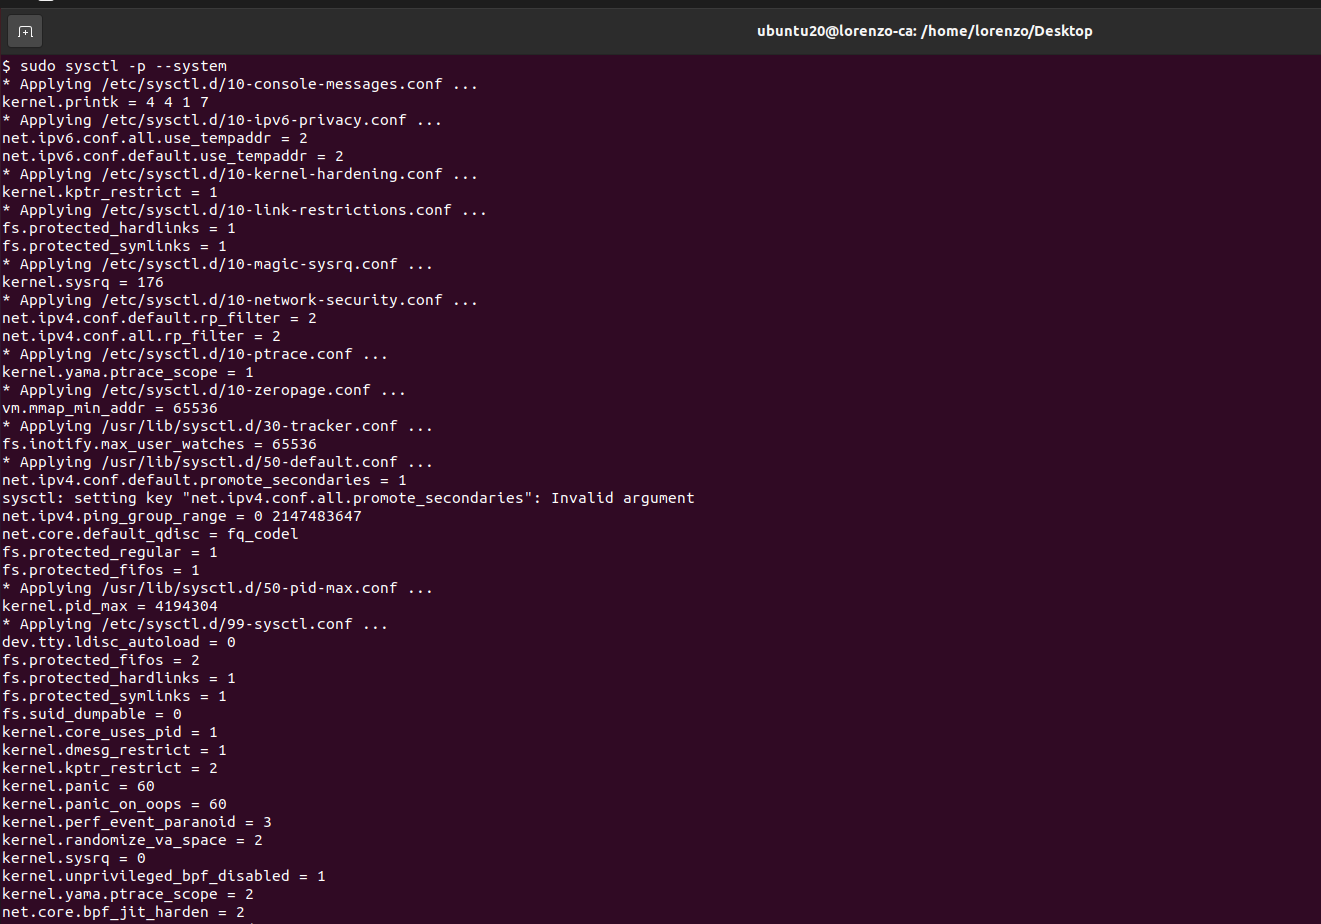
Apply changes immediately (no reboot required):
sudo sysctl –system
2. UFW (Uncomplicated Firewall) Setup
UFW provides a straightforward way to manage firewall rules.
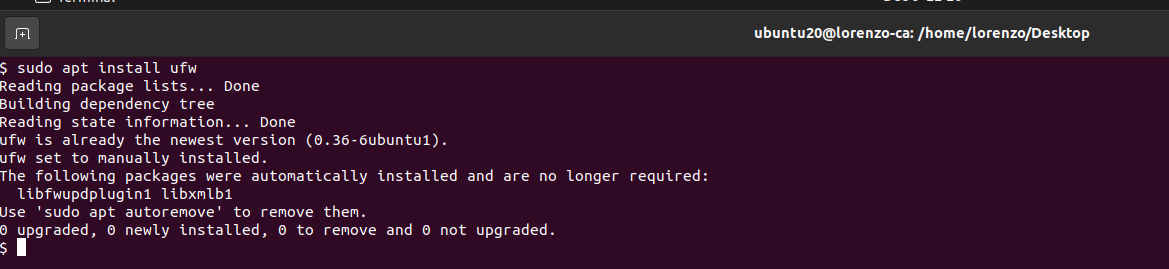
Install UFW:
sudo apt install ufw
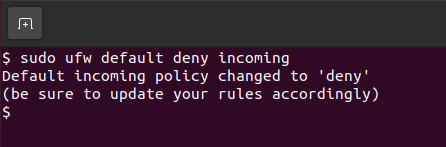
Enable and configure default policies:
sudo ufw default deny incoming
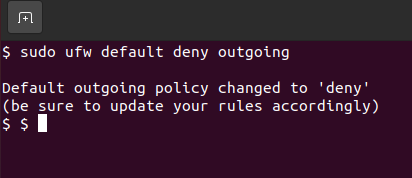
sudo ufw default deny outgoing
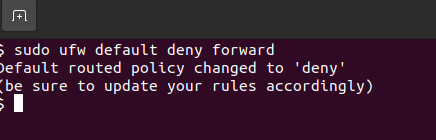
sudo ufw default deny forward
sudo ufw enable

Identify your network interface:
ip a
(e.g., enp0s3)

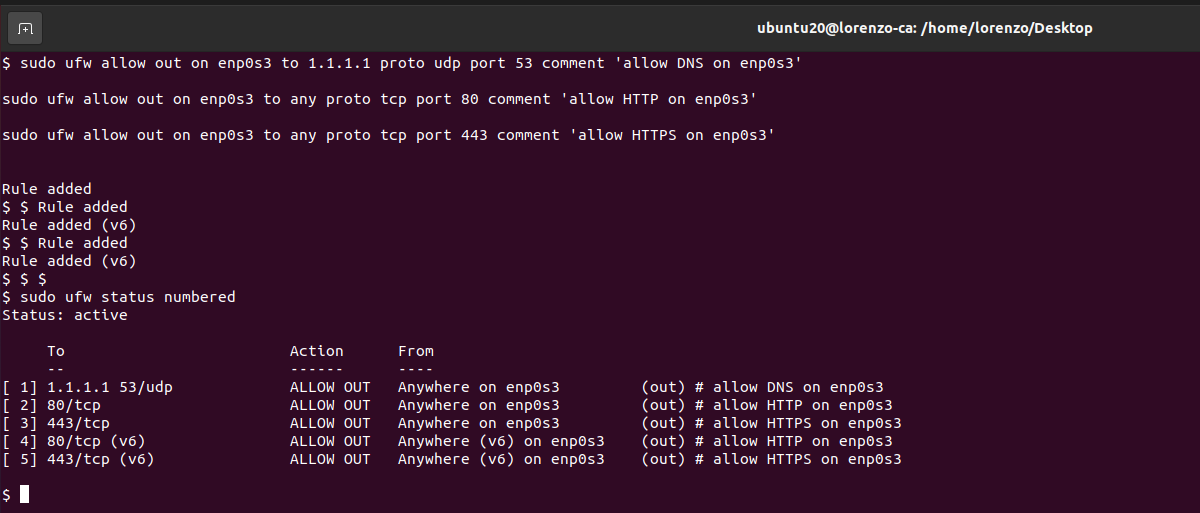
Allow essential outgoing traffic:
sudo ufw allow out on enp0s3 to 1.1.1.1 proto udp port 53 comment ‘allow DNS’
sudo ufw allow out on enp0s3 to any proto tcp port 80 comment ‘allow HTTP’
sudo ufw allow out on enp0s3 to any proto tcp port 443 comment ‘allow HTTPS’
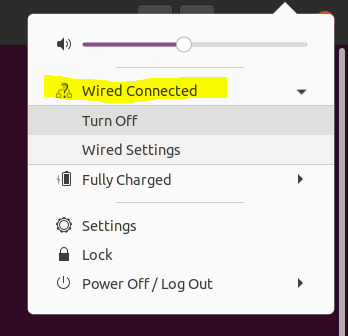
Update your DNS settings in Network Manager to use 1.1.1.1 and reconnect to apply changes.
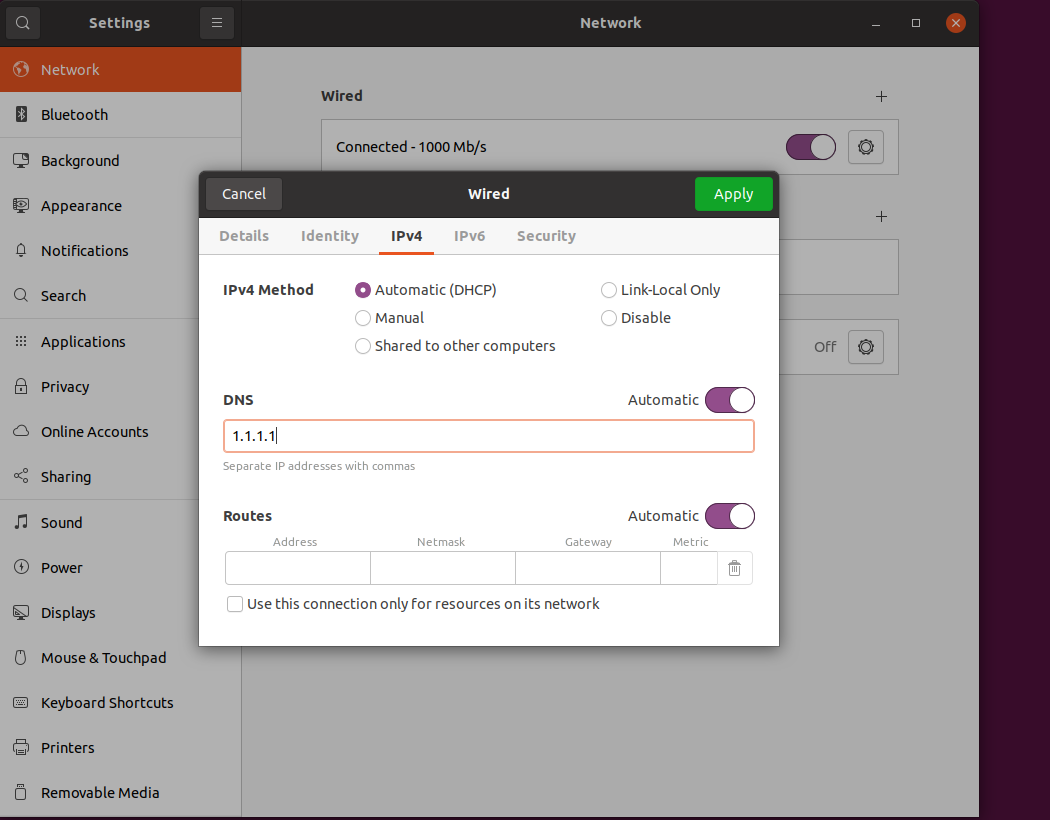
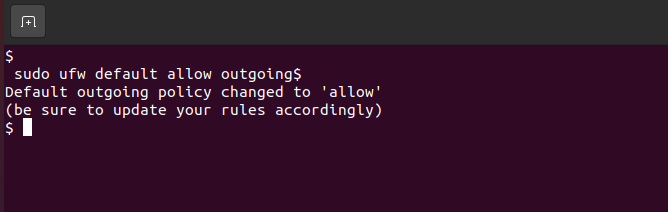
Optionally, relax outgoing policy:
sudo ufw default allow outgoing
3. Audit Daemon (auditd) for Monitoring
Auditd allows real-time auditing of suspicious activity.
Install auditd:
sudo apt install auditd

sudo systemctl enable auditd
sudo systemctl start auditd
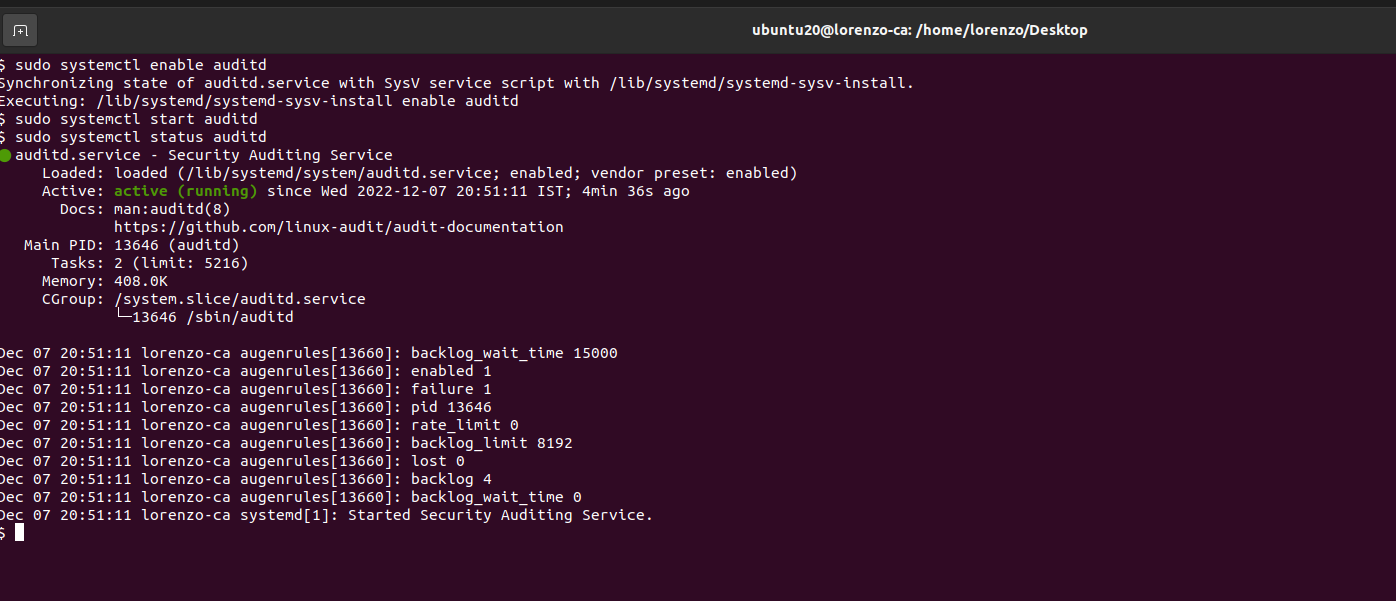
Add recommended audit rules (e.g., from Neo23x0) to /etc/audit/rules.d/audit.rules.Restart auditd to apply rules:

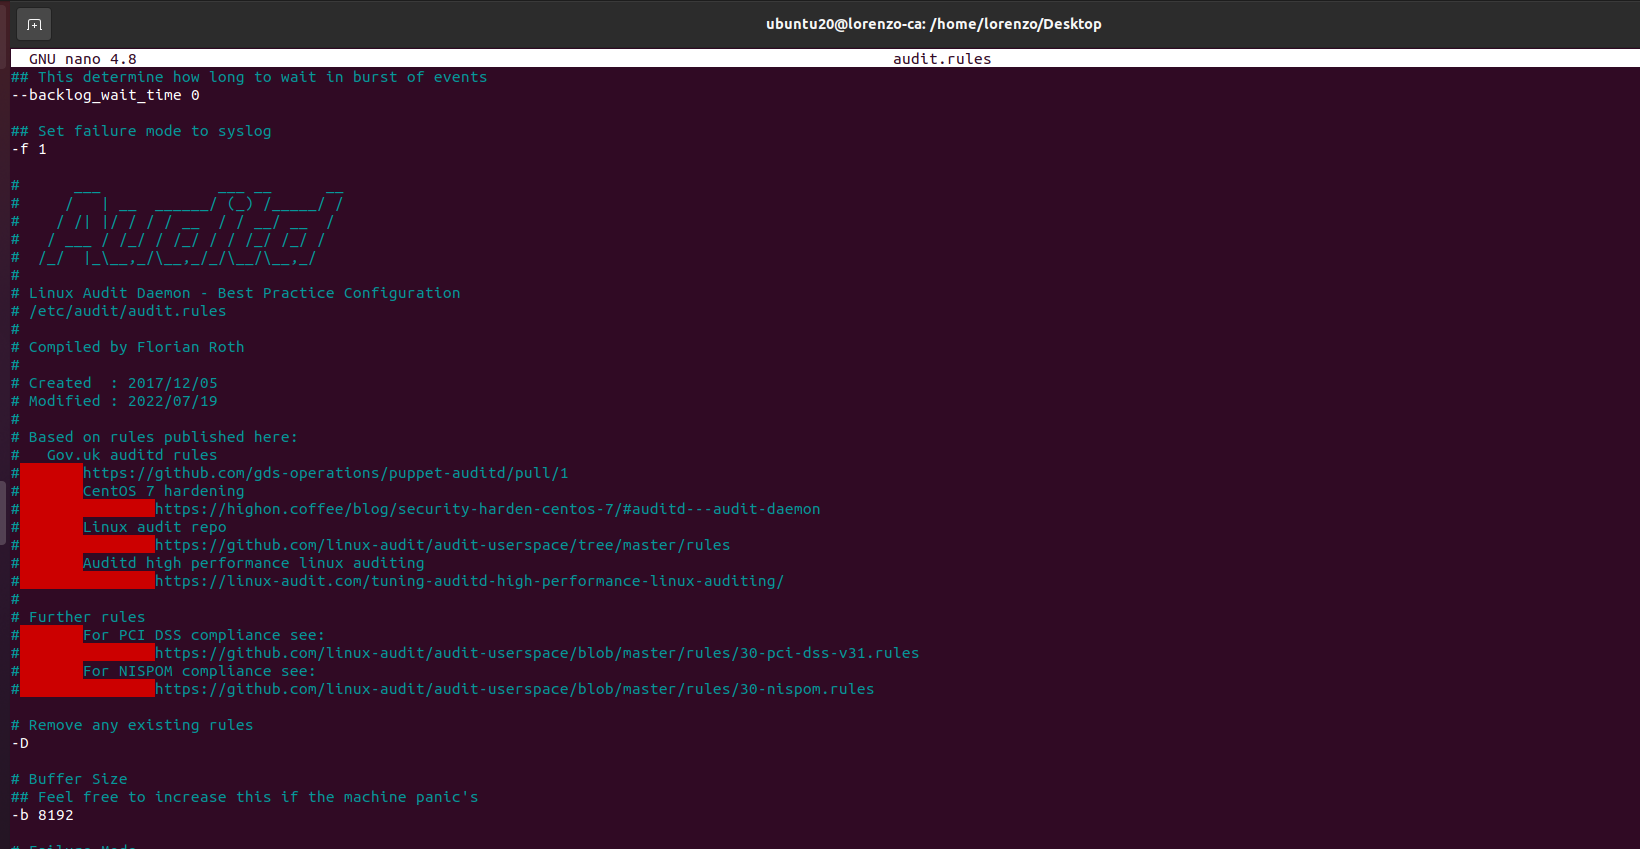
Restart auditd to apply rules:
sudo systemctl restart auditd
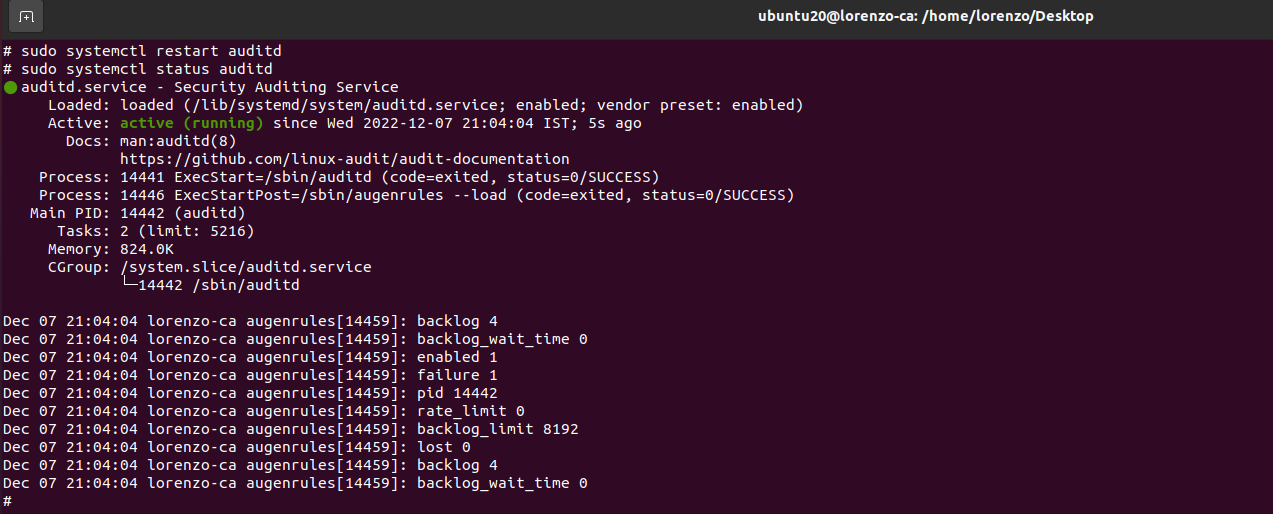
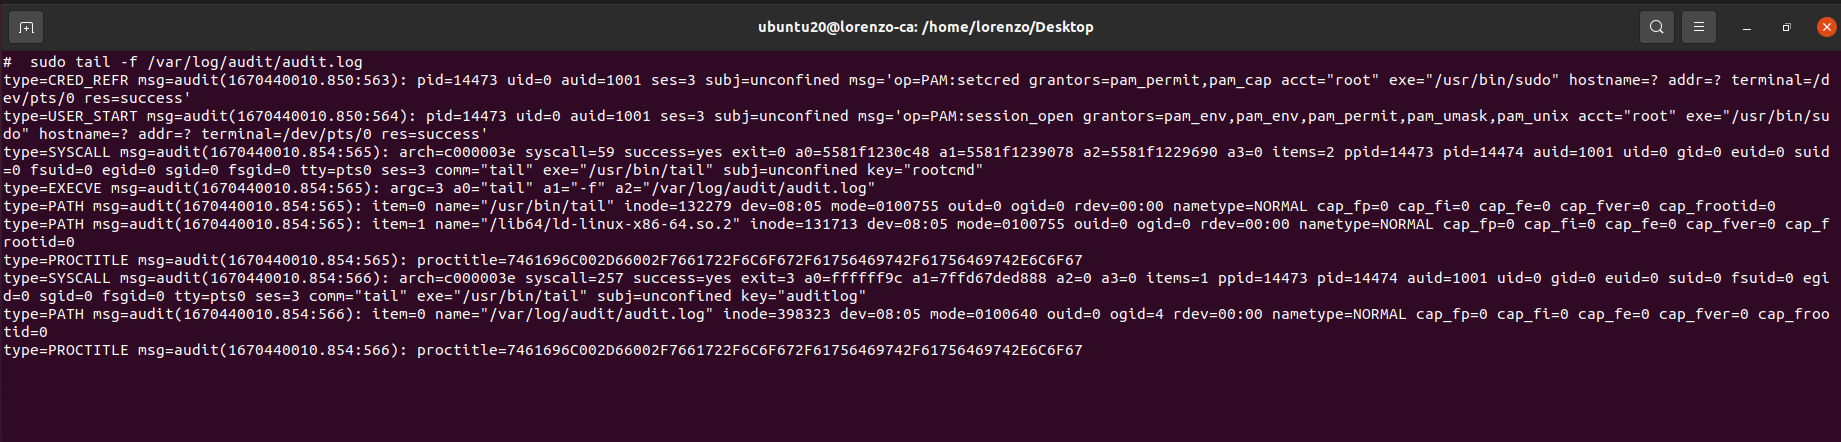
Monitor audit logs:
sudo tail -f /var/log/audit/audit.log
4. Basic System Hygiene
Keep your system up-to-date and limit privileges:
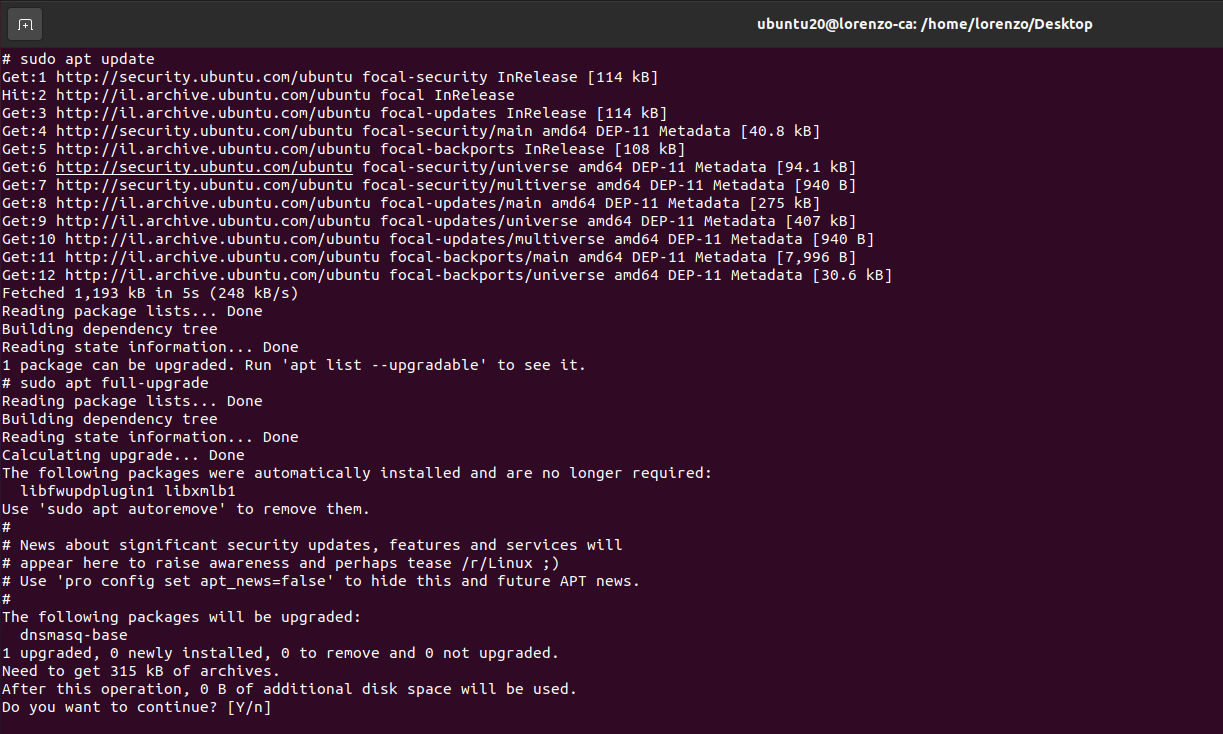
Update and upgrade packages, enable automatic updates:
sudo apt update && sudo apt full-upgrade
sudo apt install unattended-upgrades
sudo dpkg-reconfigure –priority=low unattended-upgrades
Change root password:
sudo passwd root

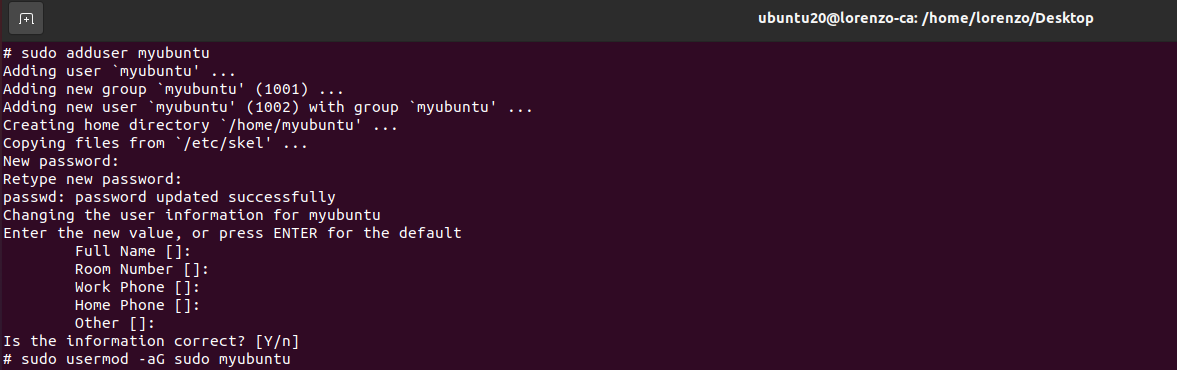
Create a standard user and grant sudo privileges if needed:
sudo adduser username
sudo usermod -aG sudo username
5. AppArmor Enforcement
AppArmor confines applications within security profiles.
Install AppArmor and utilities:
sudo apt install apparmor apparmor-profiles apparmor-utils apparmor-profiles-extra

Enforce built-in profiles:
sudo aa-enforce /etc/apparmor.d/*
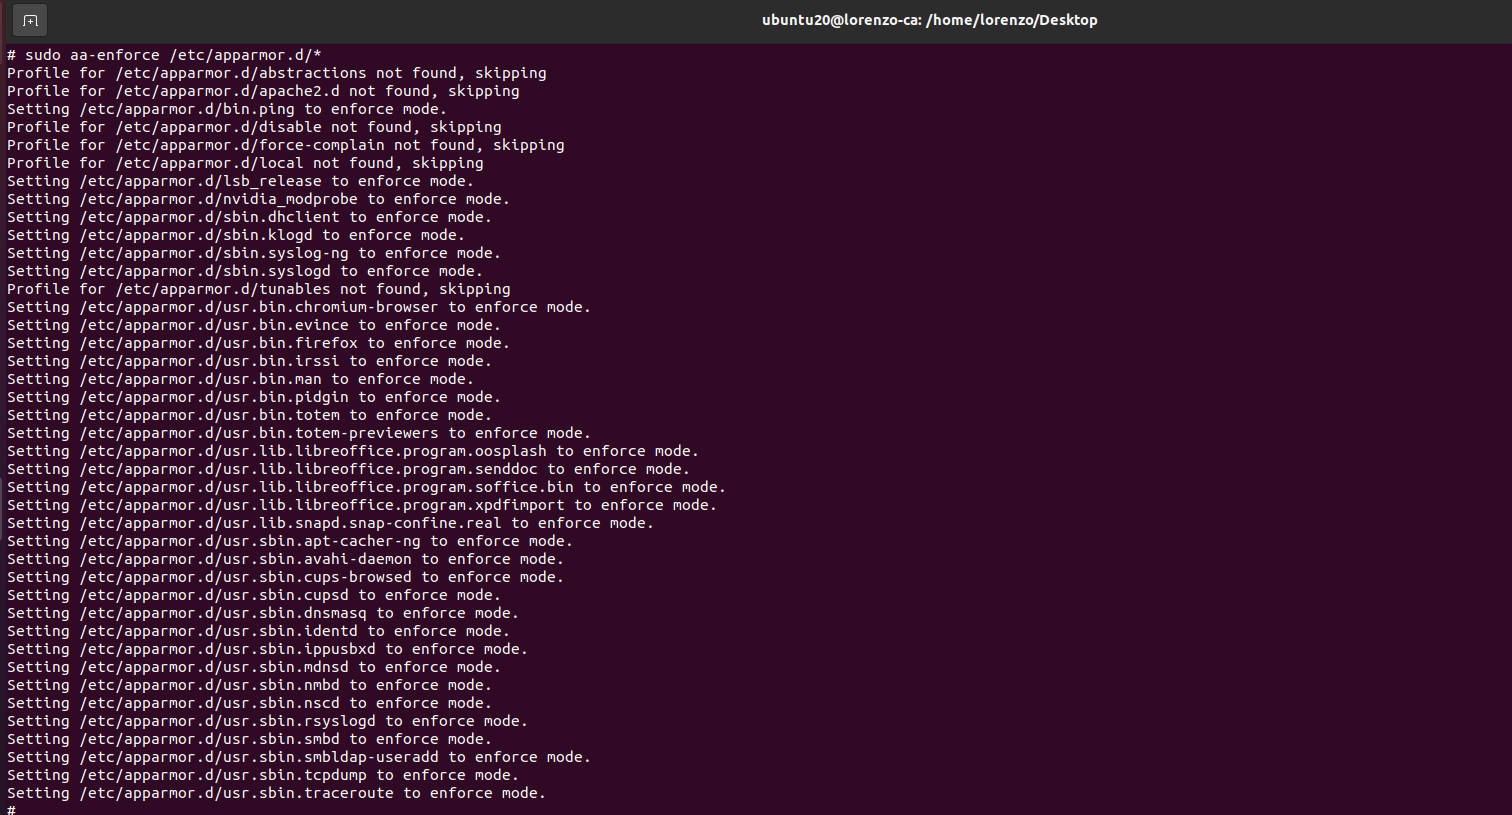
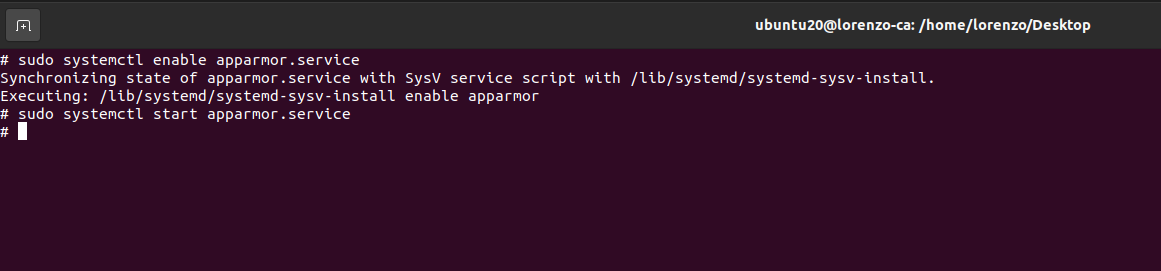
Enable and start AppArmor:
sudo systemctl enable apparmor
sudo systemctl start apparmor
6. Security Scans
Detect rootkits, malware, and anomalies regularly.
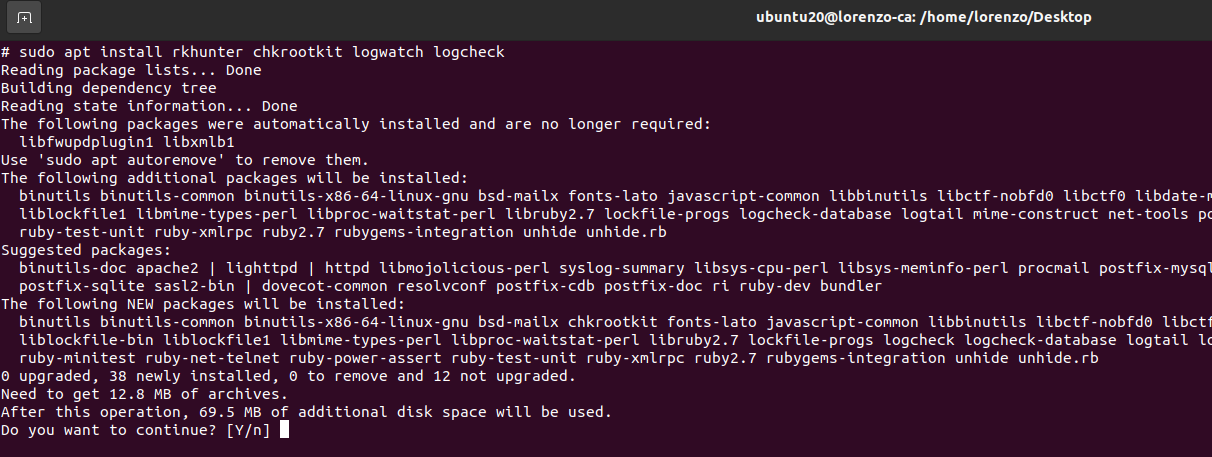
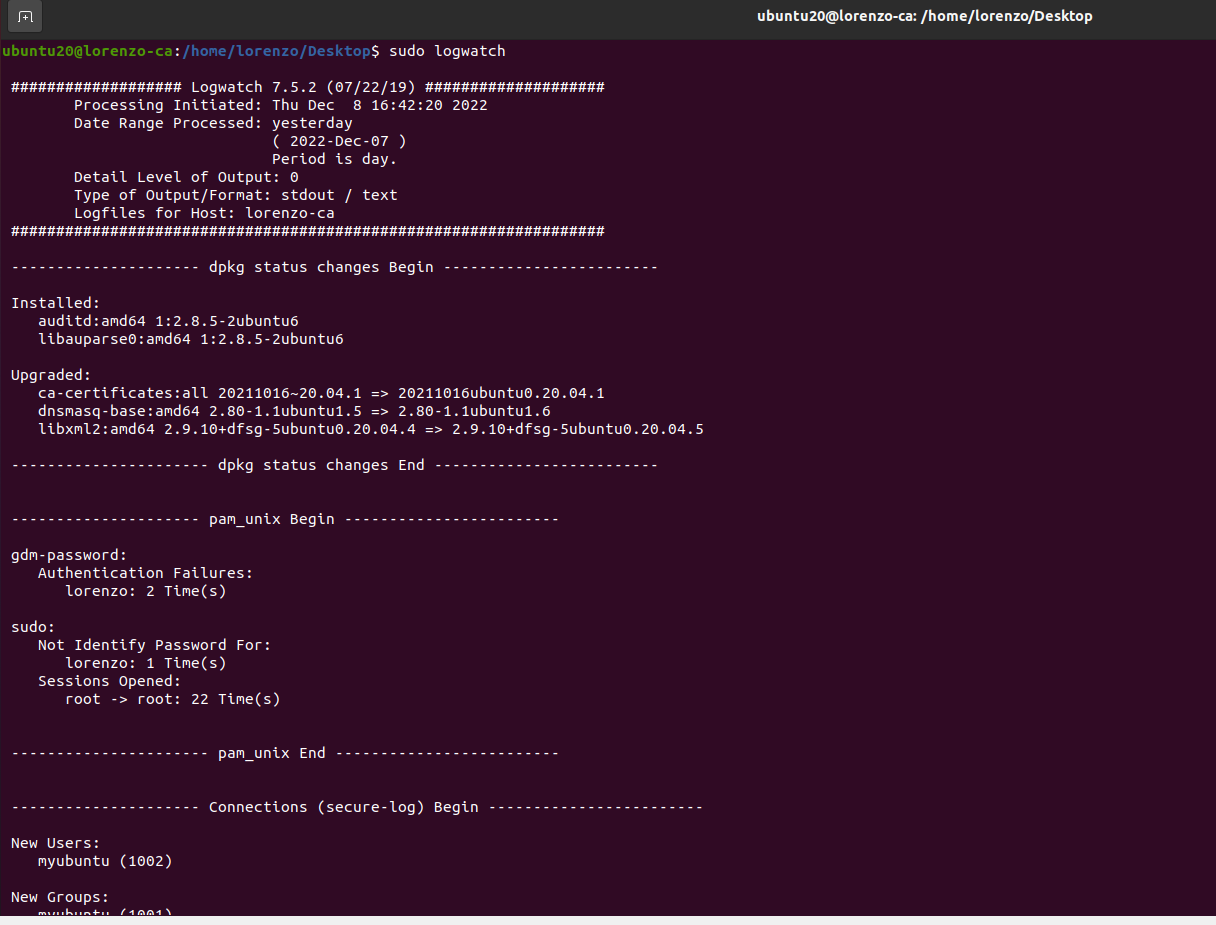
sudo apt install rkhunter chkrootkit logcheck logwatch
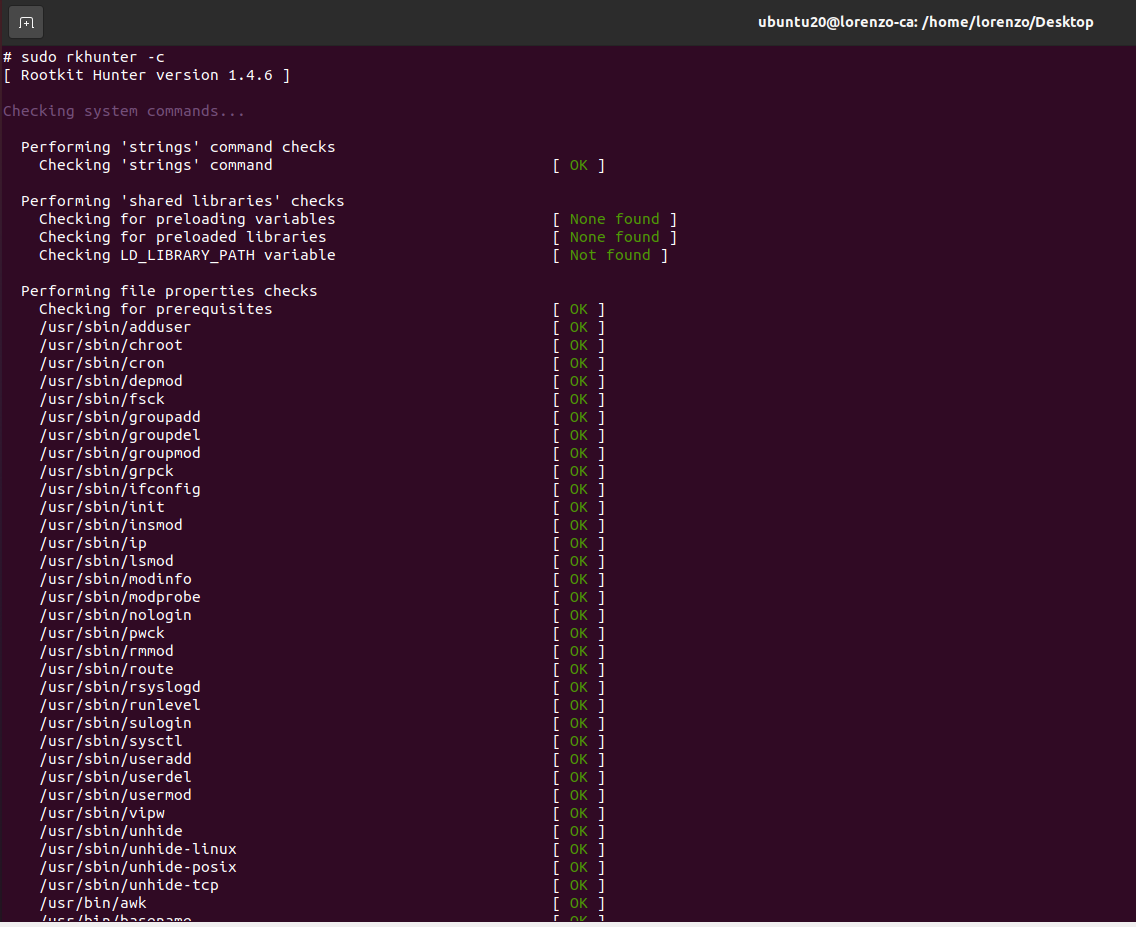
Run scans:
sudo rkhunter –check
sudo chkrootkit -x


sudo logwatch
7. Remove Unnecessary Packages
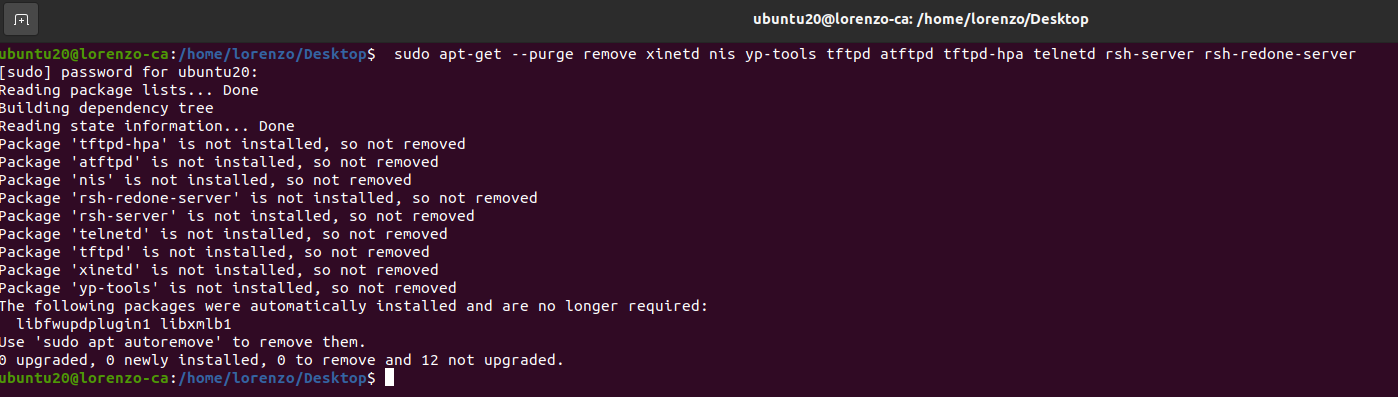
Minimize attack surface by uninstalling outdated or insecure services:
sudo apt-get purge xinetd nis yp-tools tftpd atftpd tftpd-hpa telnetd rsh-server rsh-redone-server
8. VPN for Encrypted Traffic
Use VPNs to secure your network traffic and hide your IP address.
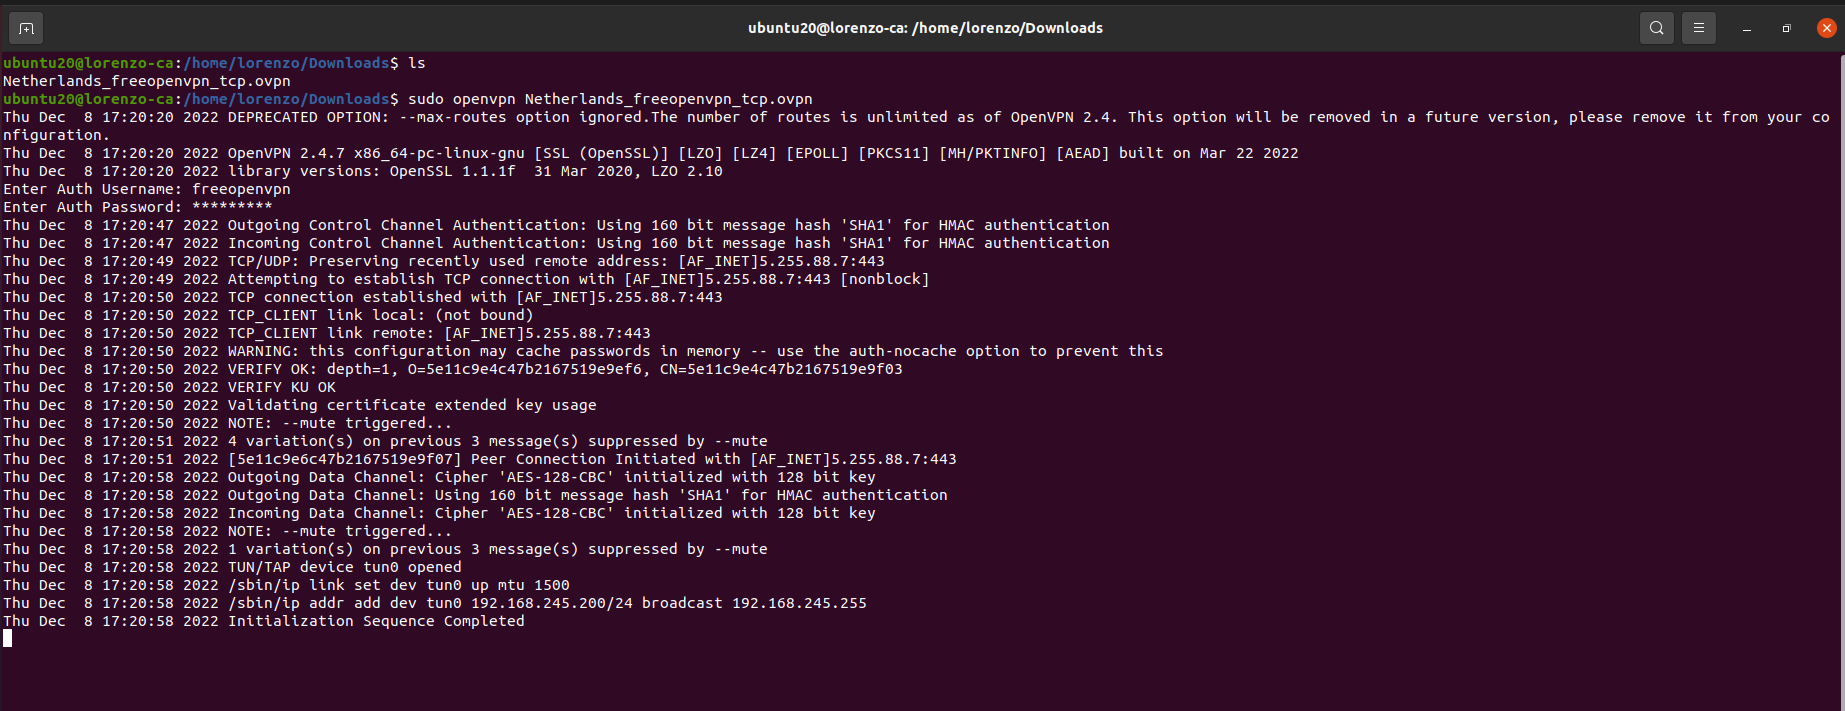
Try free OpenVPN configurations at freeopenvpn.org.
Connect via terminal:’
sudo openvpn your-config.ovpn
9. Disk Security Enhancements
Prevent exploitation of suid/sgid files on sensitive partitions.
Edit /etc/fstab to add nosuid,nodev,noexec options on partitions like /tmp:
/dev/sda5 /ftpdata ext3 defaults,nosuid,nodev,noexec 1 2
Apply similarly to /proc and /run.
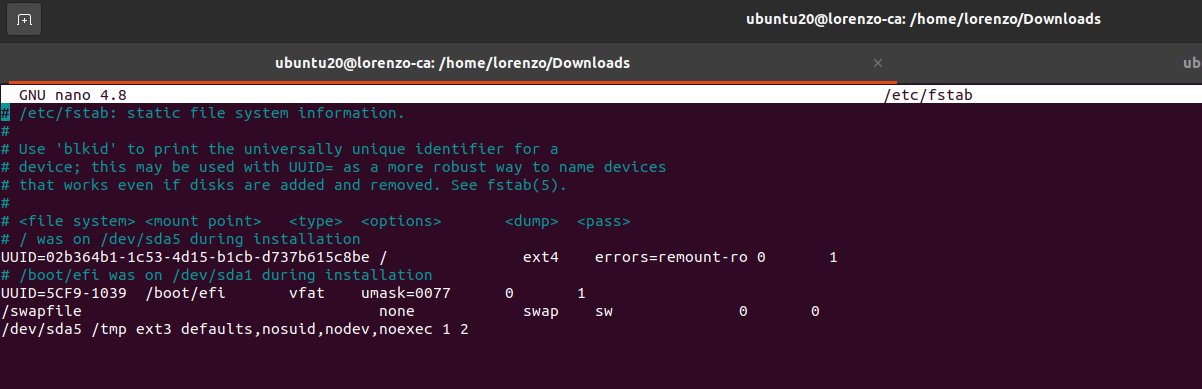
noexec – Do not set execution of any binaries on this partition (prevents execution of binaries but allows scripts).
nodev – Do not allow character or special devices on this partition (prevents use of device files such as zero, sda etc).
nosuid – Do not set SUID/SGID access on this partition (prevent the setuid bit).
My recommendation is to perform the same action to /proc and /run directory also.
10. Disable Unwanted SUID and GUID Files
SUID and GUID permissions can be exploited for privilege escalation.
Find all files with SUID or GUID permissions:
sudo find / -type f \( -perm -04000 -o -perm -02000 \)
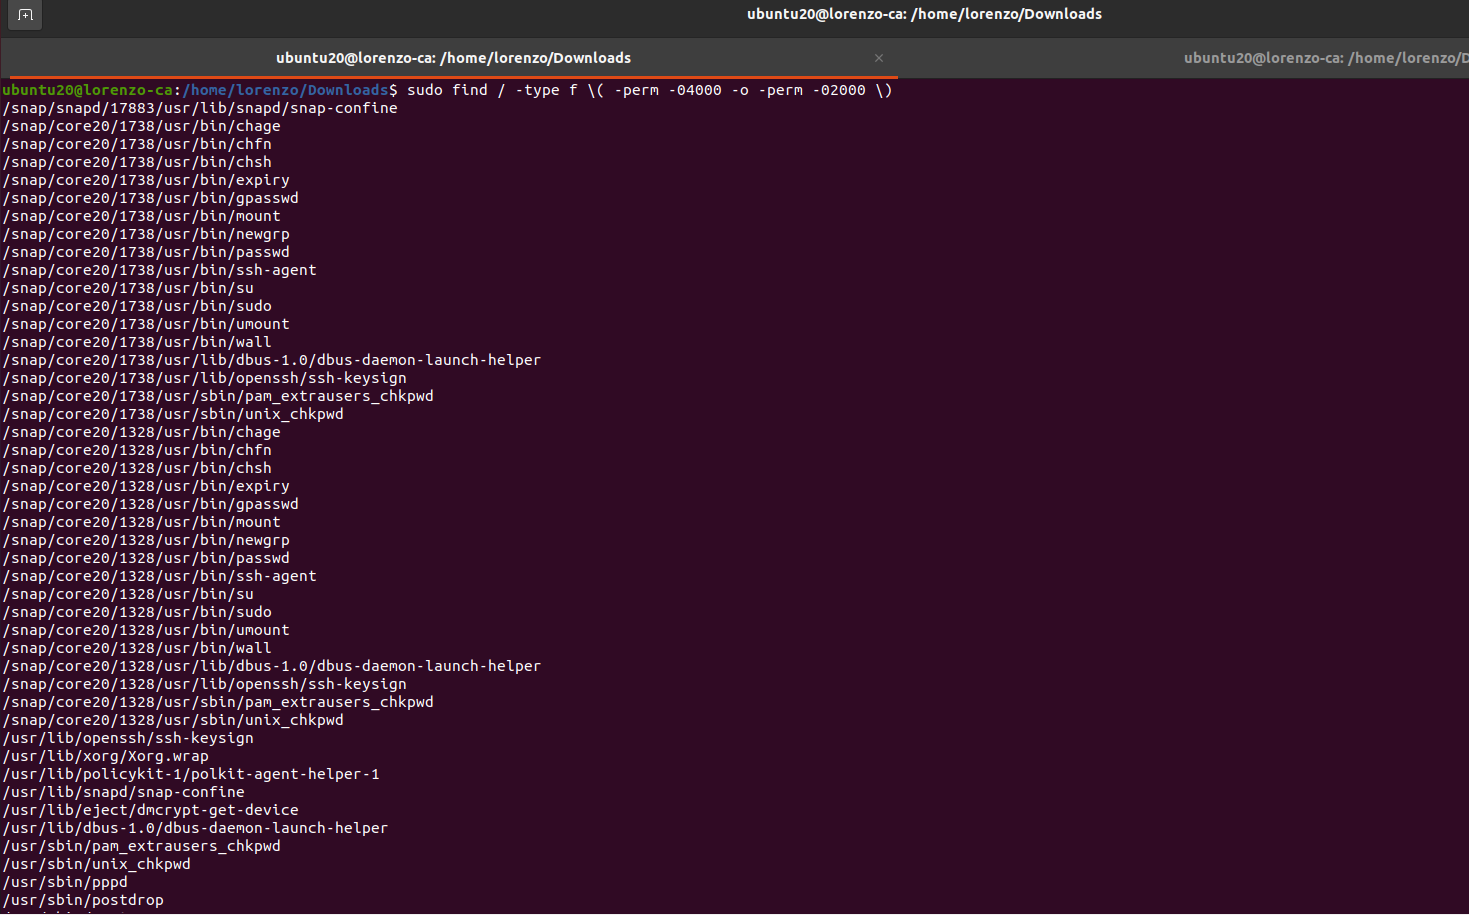
Review, audit, and remove or restrict permissions as appropriate.
Conclusion
Thank you for your patience! Following this Alpha Guide to Linux Security will significantly reduce your risk surface and help maintain a strong security posture for your Linux servers.